
Trail cameras have become must-have tools for serious whitetail hunters, but only by applying intelligent strategies can you make the most of your time and investment.
by Mike Disario for HuntDaily; promoted by GSM
Hunters increasingly rely on trail cameras to answer three important questions: what, where, and when? What deer are showing up in a particular area? Where are they showing up? When are they showing up? The answers allow you to target the prime animals and map out your best hunting strategy for success.
Unfortunately, the majority of hunters don’t take full advantage of the information their trail cams can provide. Most simply put up a camera where they have already determined they want to hunt to see what’s coming in and possibly work around the “when” to hunt based on the camera’s time stamp. That’s fine if you prefer to hunt the same places all the time and simply want to know what deer to expect and possibly when to expect them.
A more aggressive strategy, and one that will up the odds of success in your favor, is to use your cameras as ongoing scouting tools. Things change constantly during those three magical months most of us get to hunt, so the best way to have real-time, actionable intelligence at your disposal is to employ your cameras in multiple environments throughout the season.
Whether you’re an old hand at using trail cams or just starting to use them, here are our top strategies for getting the most from your investment.
Chow Time
The best spots for setting up cameras are arguably feeding areas and established travel routes. This means green fields, “enhanced” sites, or naturally occurring areas where deer concentrate to feed, such as hard or soft mast areas that are dropping fruit, and the travel corridors between these locations and bedding areas. Old-fashioned observation (looking for chewed hulls, scat, and ground disturbance) can tell you where they are hitting today, but what’s hitting and when…that’s a job for the camera. Early season deer, however, are notorious for shifting their feeding locations as hard and soft mast opportunities come available and dry up. Setting cameras on feeding areas tell you what’s showing up and when, but that information is only good so long as food is available. After the food source diminishes, you need to…
Shift Fire
Most of you probably have hunting friends who leave their cameras up in the same spot the entire season (or the entire year). How many opportunities are missed by not using cameras as scouting tools? When a food source dries up, it’s time to move those cameras to the next potential food source. The deer may or may not come to this location, but that’s the point of setting up a scouting camera.
In one area that we hunt, the conditions change from thick cover and oak stands down low to remnant apple tree and crab apple orchards higher up the mountain, to hay fields on the ridgetops. The resident deer focus on these different sources as the season progresses. Having cams set up along the next successive level lets us know when the deer have moved from one primary food source to the next.
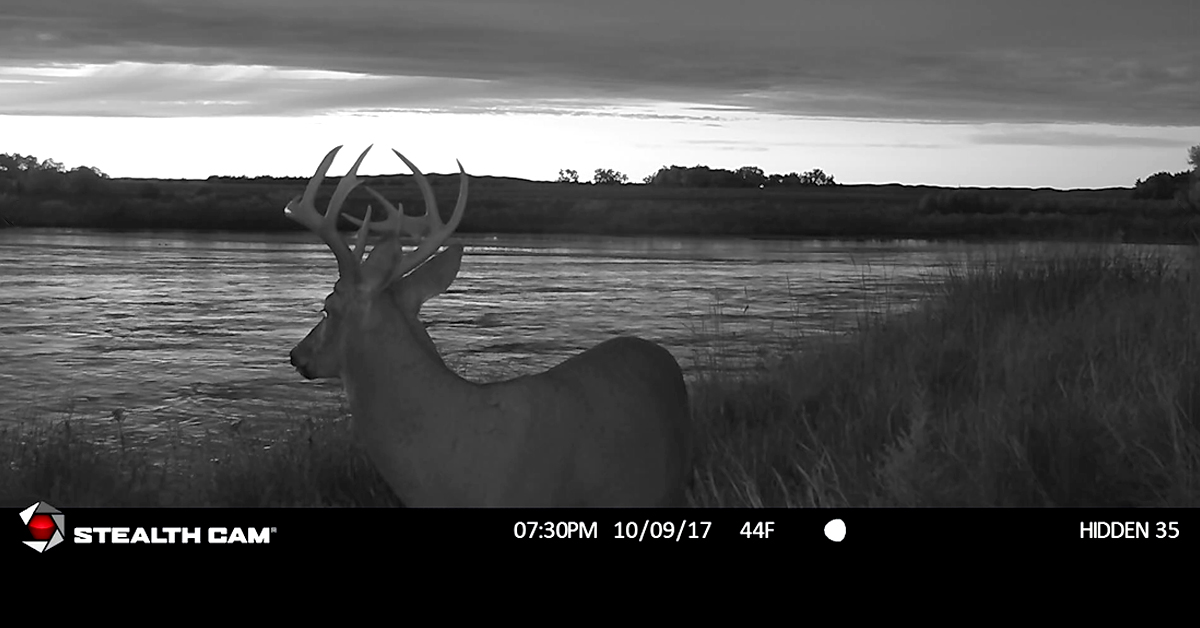
Daydreams About Night Things
Probably 80 percent of the time we capture a mature buck on camera that’s placed near a feeding location, it’s after dark. This is the case throughout the season. It’s great to know a big boy is in the neighborhood, but it does you little good during the pre-rut if you can’t find him during legal shooting hours. You need to locate his daytime bedding area.
This is a tricky matter, but one in which a trail cam really helps.
If a buck is showing up on your camera early in the night or late in the morning (pre-dawn), there’s a good chance that his bedding area is not too far away. Since big bucks tend to hide out during the day in thick cover or challenging terrain (such as a small flat on a steep hillside), try to find these areas and identify the most likely route between them and the food source (it could be a trail, a creek bottom, or a natural funnel). Set up one or more cameras along these likely routes and if he trips the trigger, you’ll have a good idea where to establish your stand to catch him late in the evening or early in the morning.
Scraping Along
As we move into the pre-rut, setting cams along scrape routes becomes key to learning what bucks are in the territory and when they are most active. As with feeding, most bucks run scrape lines at night. Unlike feeding areas, bucks tend to wander farther away from their bedding area during this phase, which makes it more difficult to know where they’re holing up for the day based solely on trail cam time stamps. Nevertheless, if you discover a buck making frequent visits along a particular scrape line, you stand a good chance of finding his bedding area nearby.
Working the Stage
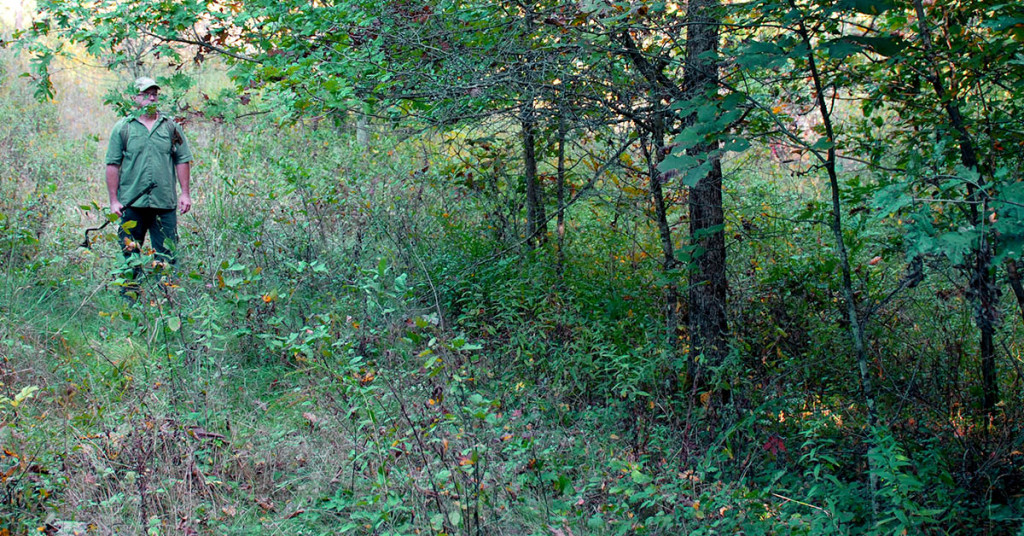
Green fields are magnets for dusk-time whitetails, and setting up along field edge cover is one of the best ways to punch your tag. In some situations, though, hunting open feeding areas like these can be frustrating, especially during bow season. Often times, the deer emerge and feed too far away from your stand to get a shot.
The strategy here is to use your cameras to locate the key staging areas. These are the areas deeper in the brush and heavy cover where deer stage before entering the fields closer to dark. You probably know where the deer tend to enter the fields, so work with that and set your cameras up 100 or 200 yards in the woods along the suspected travel route. We don’t want to say that the deer are less alert when they are in the staging area, but they aren’t looking for trouble here quite like they do when they first enter a field. This is one of the reasons hunting the staging areas can reap big dividends.
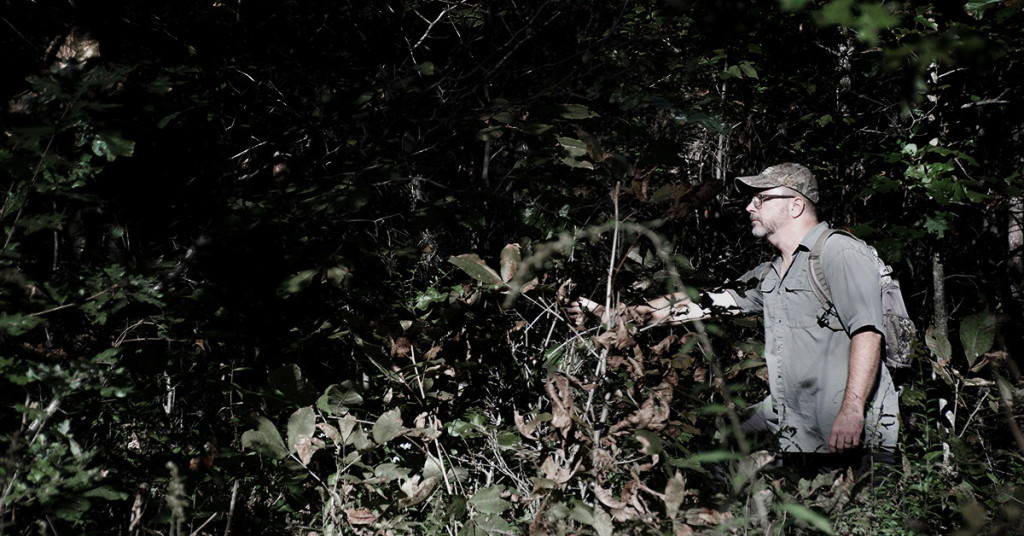
Beware the Glow
We all love to record video with our trail cams. If you have the storage capacity, great. But a word of caution: be careful of setting your camera for long video recording if your camera emits bright IR (infrared). Extended IR lighting could lead to an unfavorable impression being made on a resident buck for that area. It can pique the curiosity of a smart buck, leading him to your camera and ultimately to your scent. Not good.
This is one of the features we like about the new StealthCam DS4K we’ve been testing this season. The DS4K has 42 “no-glow” IR emitters that won’t spook deer or alert them to the camera during extended video recording. In fact, of all the cam captures we’ve had this year with the DS4K, none of the deer have been caught looking into the camera or coming in to investigate.
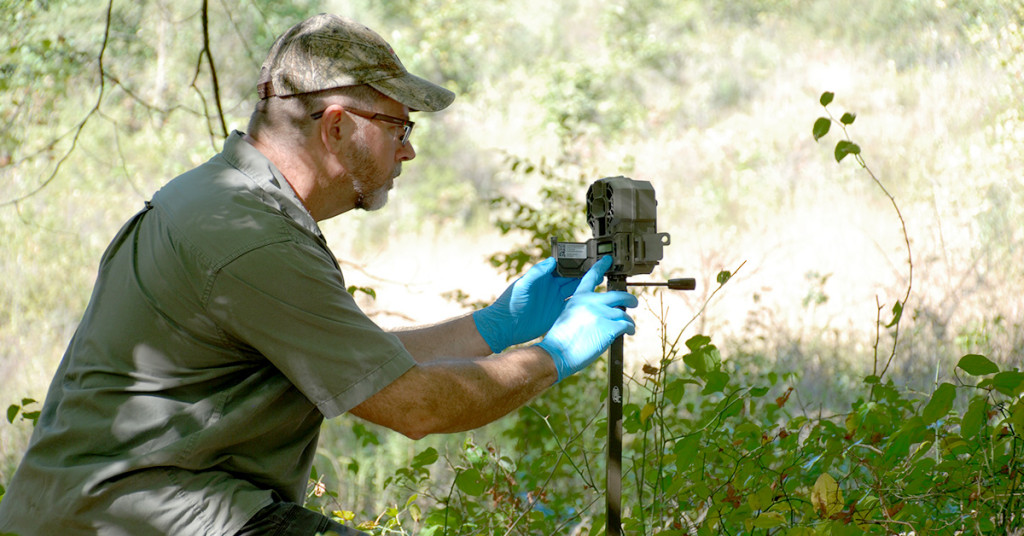
Sink the Stink
Scent control is one of those must-do tasks we all accept whenever we hunt or enter our hunting area. A lot of hunters, however, get lazy or careless with scent control when scouting or working their cameras.
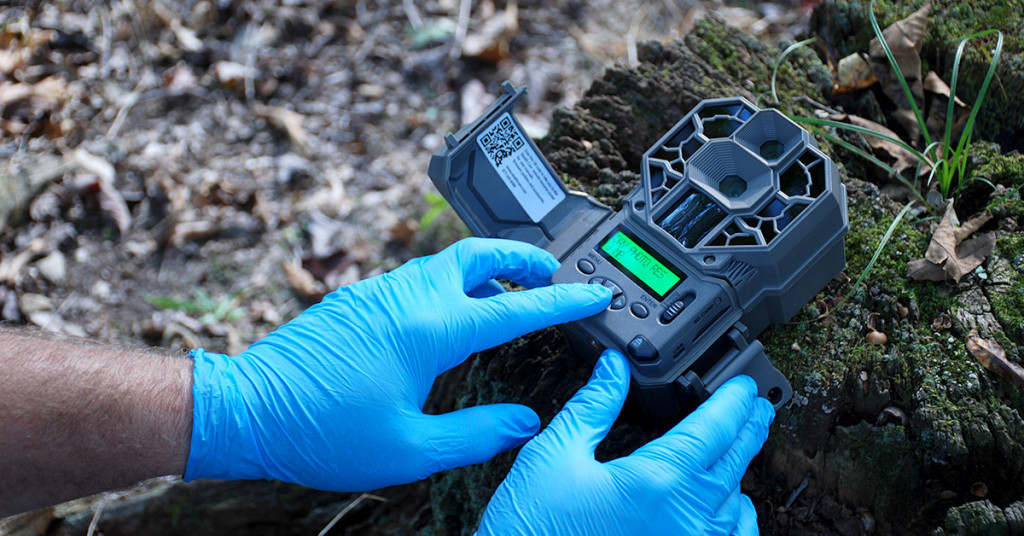
Any time you check your cameras, be sure to exercise the same scent control procedures as if you were actually hunting. Spray down your clothing and boots, be careful what you touch, and wear scent-free gloves when adjusting your camera or swapping out cards.
Fishing for Deer
If you are working a new hunting area and don’t know where to start, begin by zero’ing in on the “naturally best” spots. These include funnels, likely food sources, entrances and exits to heavy-cover bedding areas, and obvious trails that show recent activity. This is where trail cams truly shine, especially if your woodcraft is a bit dull or rusty. We like to start with a likely food source that shows some recent sign of deer activity, and then identify the best probable entrance routes or trails leading to this area. This is where we’ll set our camera.
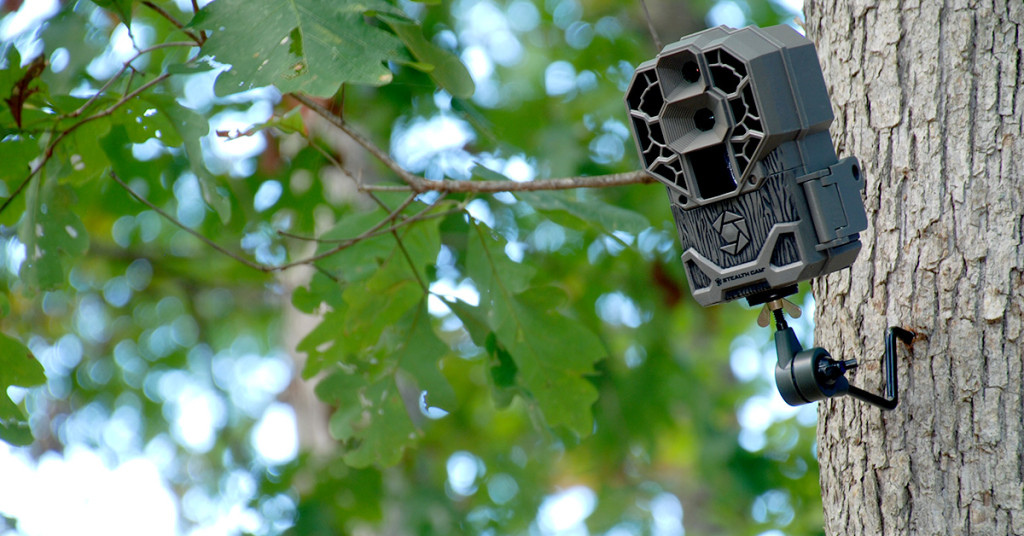
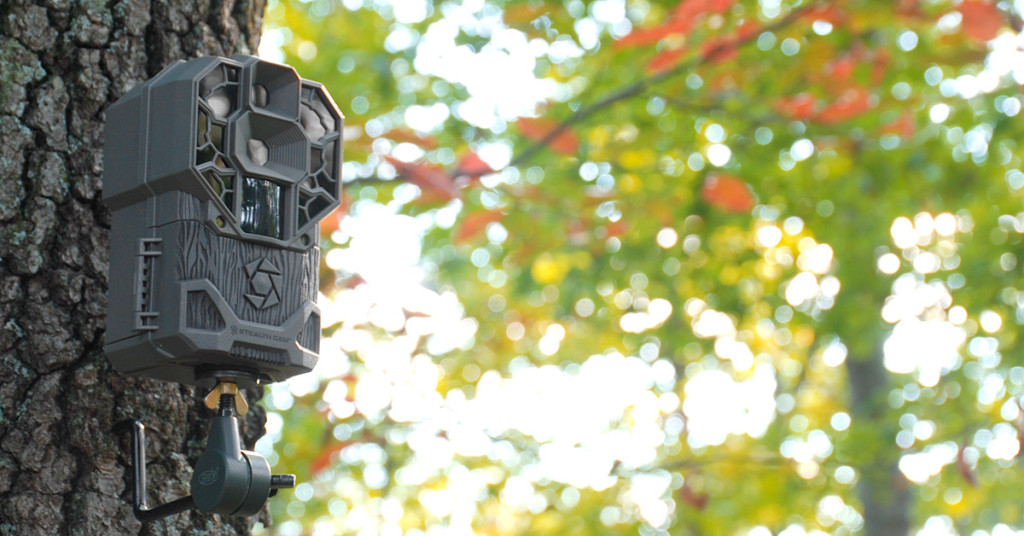
Hang ‘Em High(er)
Nearly everyone sets their cameras on a tree about three to four feet above ground. That works great for a linear view of the area, but it also tends to miss a lot of possible activity on the periphery of the camera’s viewing angle.
One way to get a larger view of an area is to elevate your camera. With an increasing number of camera mounting options available, you can place your camera higher up and tilt it downward to capture a larger view. Just be careful not to mount the camera so high that it exceeds the effective range of the sensors to trigger the system.
This season, we’ve been testing several camera mounting options from the folks at Hunting Made Easy. One of our favorites is the screw-in Trail Cam Holder. It comes with a pivoting mount that lets you adjust the camera to the exact angle you want.
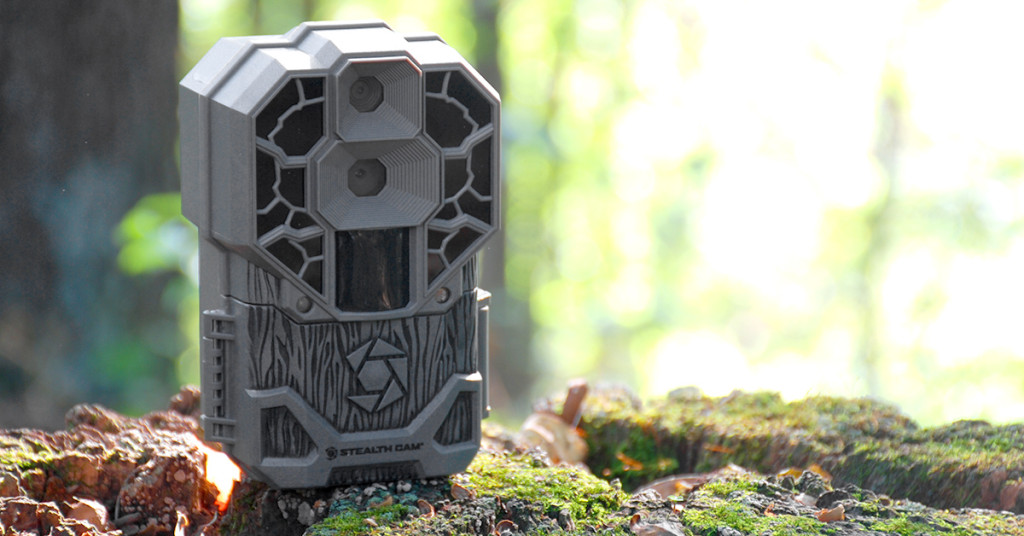
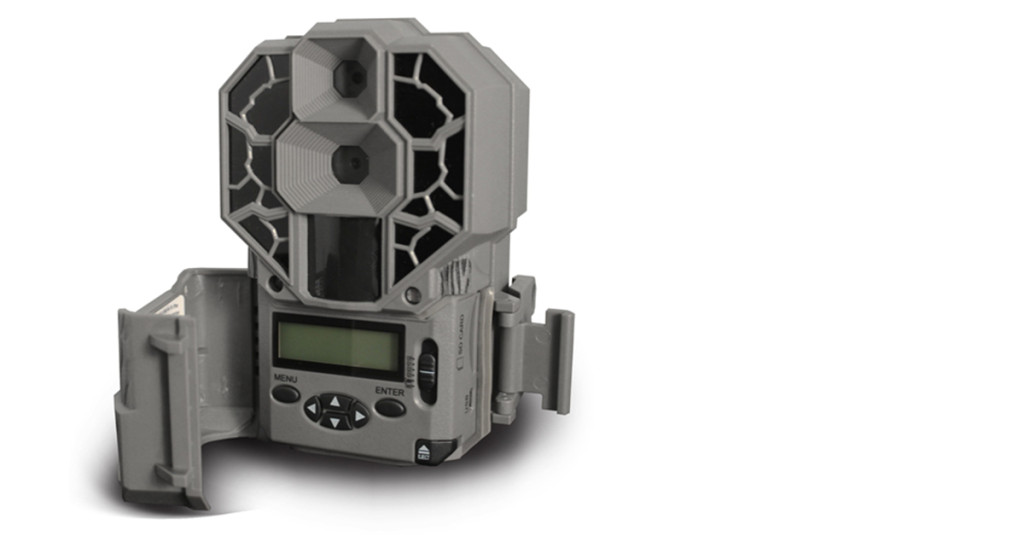
Field-Tested: StealthCam DS4K
A couple of months ago we got our hands on the new DS4K trail camera from StealthCam, and so far, we’re liking it a lot. If you’ve used StealthCam’s G-series cameras, the DS4K covers a lot of familiar territory.
The big difference is the DS4K’s impressive 30 MP resolution and, as its name implies, 4K ultra-HD video capabilities. Obviously, 4K video and up to 30MP still photos can chew through memory, so the DS4K allows you to choose the video and photo resolutions that best meet your needs.
The unit comes with three pre-set modes that you set by simply moving the switch. The custom mode is where we prefer to hang out. In this mode, you can set just about every function—from video and photo resolution to PIR delay and PIR range. Another customizable feature we appreciate is the blur reduction. You can set the camera for maximum nighttime blur reduction (which advances the shutter speed and slightly minimizes light recording), or opt for maximum light gathering at a slower shutter speed. The point is, the choice is yours.
One of the pre-set modes we really like is the PIR Combo. This mode allows you to take pictures AND video in the same trigger event. As you know, video can tell a broader story about the nature and habits of the deer in your area, especially where they are coming in from and how they are reacting to the environment you have created around your stand. The downside to video, traditionally speaking, is the time it takes to view them. With the PIR Combo setting, you can identify the interesting video segments from the still images generated during the trigger event.
The DS4K also allows you to turn the audio recording on or off, and the quality is among the best we’ve seen in a trail cam. This is great during the rut phase, as you can potentially capture some “local vocalization” and adjust your calling accordingly. Check out the audio clarity and low-light video performance from these recent field test compilations:
DS4K Basic Features
- 4K Ultra HD Video
- 30 MP Ultra Hi Res Performance
- Dual Image Sensors
- Range Control – Adjustable PIR
- Security Mode (re-write SD memory)
- Reflex™ Trigger < .4seconds
- 42 NO GLO IR Emitters
- Intuitive backlit menu programming
- Matrix ™ Advanced Blur Reduction
- Retina™ Low Light sensitivity
- 16:9 Wide Image Ratio
- Quick Set pre-programmed option.
- Burst Mode 1-9 images per triggering
- 5-59 sec / 1- 59 min recovery time out
- Time / Date / Moon Phase / Temperature / Name Stamp
- GEO-TAG GPS Tagging
- Manual shot capability
- Secure Lock password protection
- SD Card slot up to 32GB
- Test Mode
- Video & USB output
- Operates on 8 AA batteries
- External power jack for 12V battery box
- Active Time Setting
- Multi-Lingual (English / French / German / Spanish)
- Preset Time & Date (CST)
SOURCE
article copyright © 2017 HuntDaily.com; promoted by GSM
Although GSM is one of our sponsors, the views expressed in this article are those of the author. HuntDaily.com receives compensation from GSM in various forms to help promote their products.
Leave a Reply